by abduzeedo
Last week we posted about some new trends in icon design and illustration. Today after spending hours watching Breaking Bad, I started to watch it a couple of weeks ago and now I am on season 5 already - I decided to create an illustration for a desktop wallpaper for my laptop and of course share with you the process in Illustrator.
So in this case study/tutorial I will show you how to create an illustration inspired by Breaking Bad.
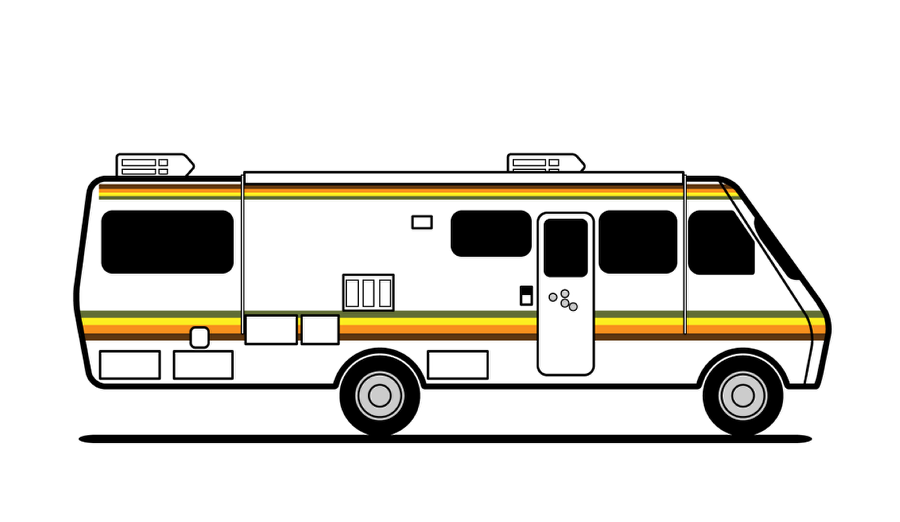
Step 1
Start with the basic shapes and outlines. Use the Stylize>Round Corners to create the rounded shapes for doors, windows and the RV itself.
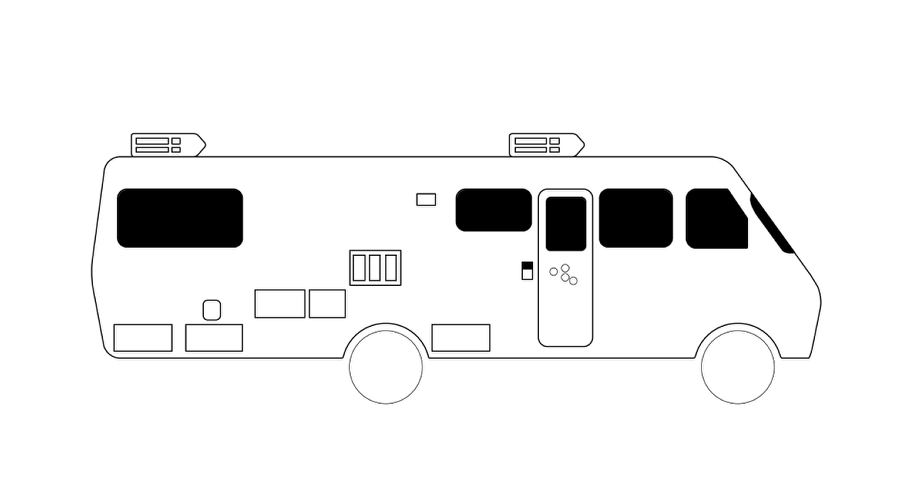
Step 2
Once you have the basic shapes, make the outlines of the RV much thicker than the rest. Also play with different strok weights.
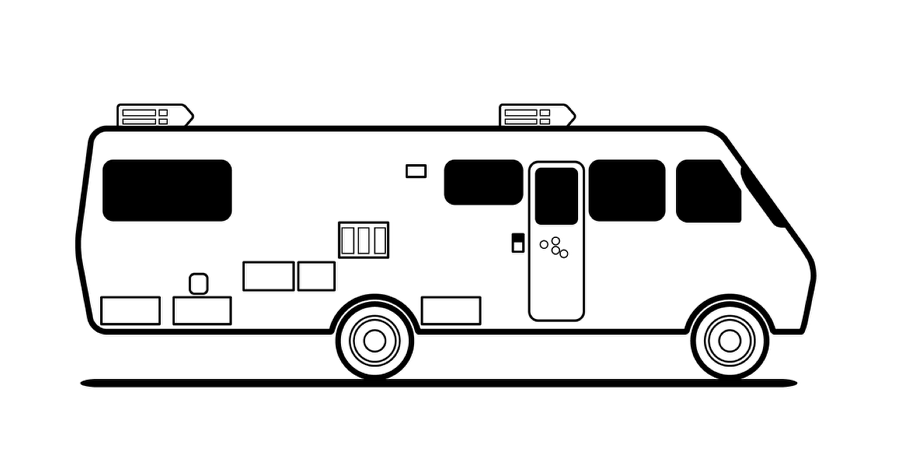
Step 3
Keep adding more details.
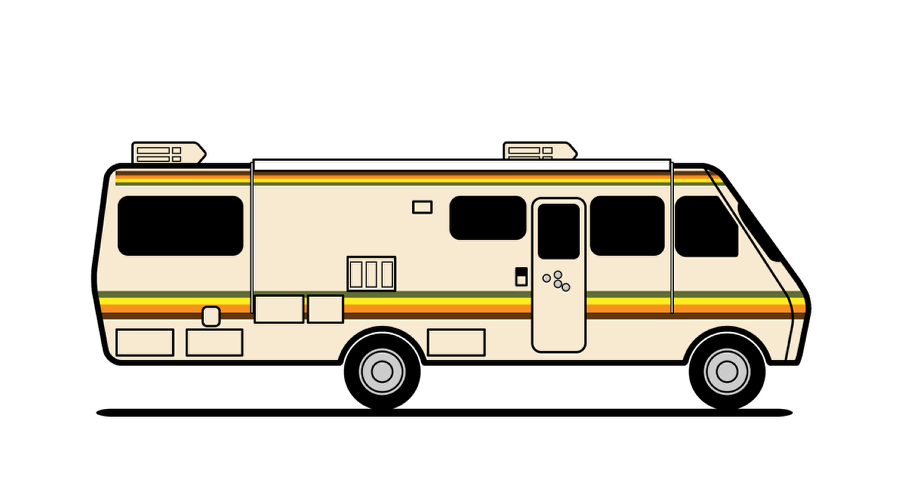
Step 4
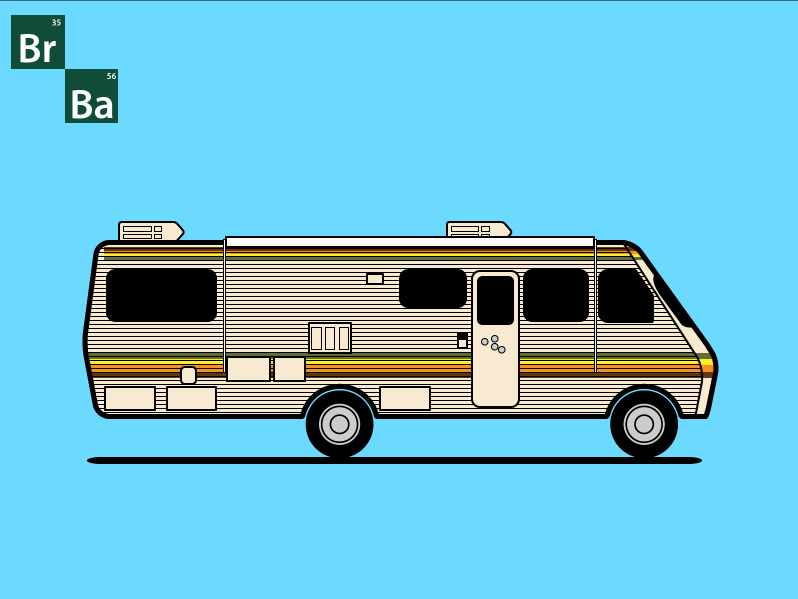
Time to add some colors. Let's add the basic stripes first. Also the wheels and the bullet holes in the door.
Step 5
Use a beige color for the RV.
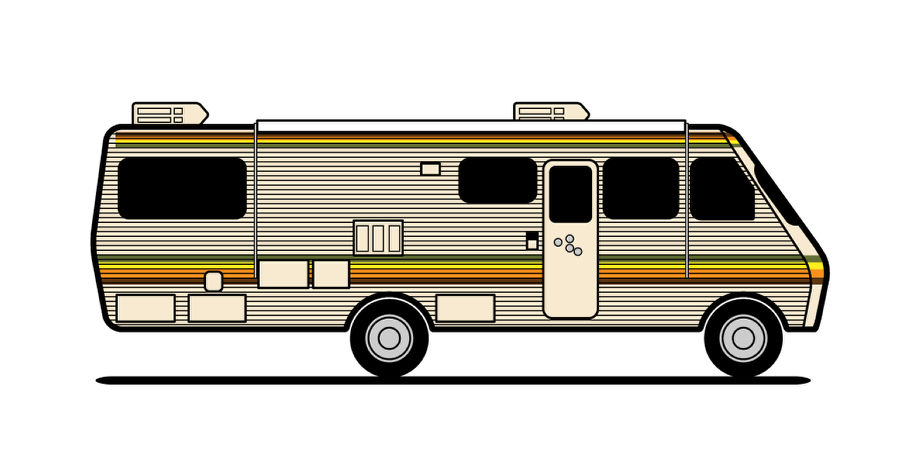
Step 6
Use the Blend Tool to create the metal texture of the RV.

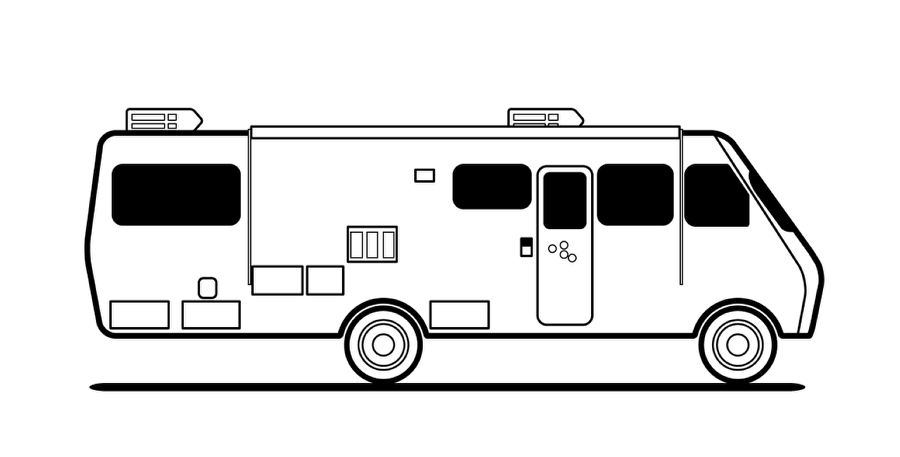
Step 7
Here's the basic vector.
Conclusion
Just add a nice blue for the background and the logo to finish this simple piece. There's nothing new but it's nice to play with Illustrator after having fun watching Breaking Bad.