by abduzeedo
Master the classic halftone text effect in Pixelmator. Watch our video tutorial to learn how to use the Dot Screen tool for stunning retro designs.
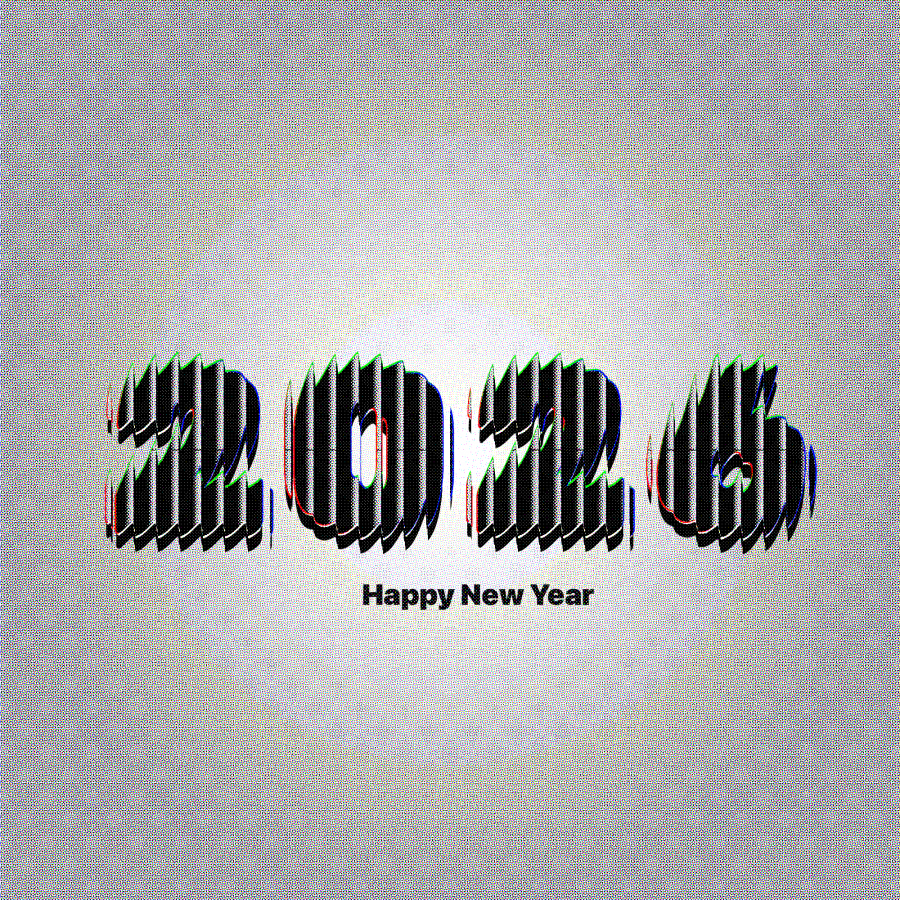
There is something timeless about the halftone effect. It calls back to the golden age of print, newspapers, and comic books, adding an immediate layer of texture and depth to any design. Today, we’re sharing a quick video tutorial on how to recreate this classic look using Pixelmator Pro and the Dot Screen effect.
It’s a deceptively simple technique that relies on the contrast between your text and the background to generate that signature grid of dots. The best part? It’s completely non-destructive and takes less than two minutes to set up.
Check out the video below for the full walkthrough, or read on for the step-by-step breakdown.
Pixelmator Tutorial
01. Set Up Your Canvas
Open Pixelmator and create a new document with a white background.
02. Add Your Typography
Select the Type tool and add your text. For this effect, bold, chunky fonts work best to allow the dot pattern to shine through. In the video, we use Rubik Mono One.
03. Apply the Effect
Go to the Effects browser.
Search for and select Dot Screen (you can find it under the Halftone or Generator categories).
04. Refine the Look
This is where the magic happens. Adjust the settings to dial in the density of the dots:
- Width: Increase this to make the dots larger and more pronounced (around 16px - 17px is a good starting point).
- Sharpness: boost the sharpness (around 70%) to ensure the edges of your dots are crisp against the background.
05. Final Touches
You can group your layers or apply additional Color Fills to change the ink color from standard black to whatever fits your palette.
This technique is perfect for posters, logo marks, or just adding a bit of retro flair to your social media assets. Give it a try and share your results with us!


![Neon light effect in Photoshop [revisited] Neon light effect in Photoshop [revisited]](/sites/default/files/styles/square_1x1/public/originals/hero_neon.png?itok=lP4mbIak)


